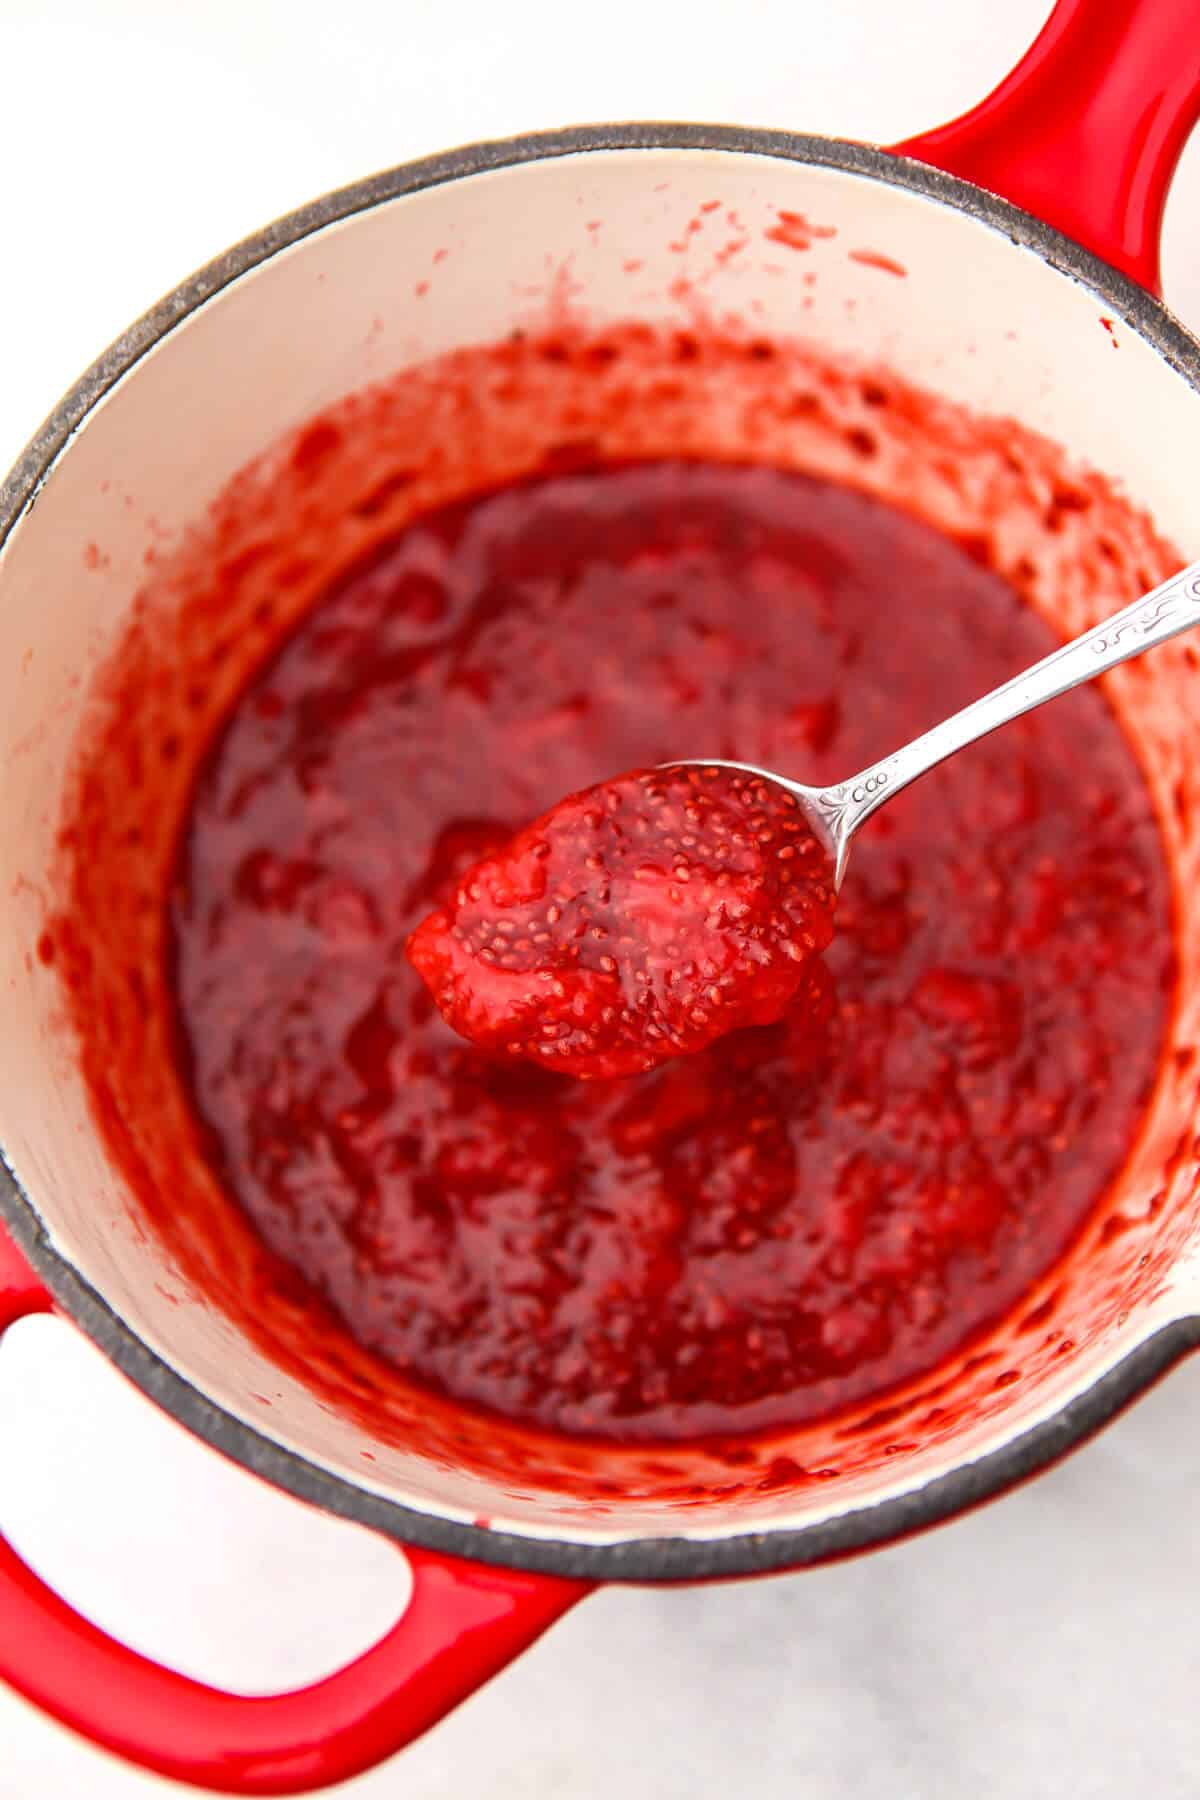
Strawberry Chia Jam
This strawberry chia jam is a quick and simple recipe that combines the natural sweetness of strawberries with the superfood power of chia seeds into the easiest way to make homemade jam ever! With just 15 minutes and 4 ingredients, you can make homemade jam!
Want to save this recipe?
Enter your email below and get it sent straight to your inbox. Plus, get more amazing vegan recipes that will satisfy your cravings!
Why make this recipe
If you have ever wanted to make homemade jam but have been intimidated by the canning process, this recipe is for you! You won’t believe how easy it is to make fresh jam, sweetened however you like.
This healthy chia jam is also vegan, gluten-free, and can be made sugar-free!
Ingredients and substitutions
- Strawberries – fresh or frozen strawberries work equally well. You can also swap the strawberries for any other frozen or fresh berries, such as raspberries, blueberries, or blackberries.
- Chia Seeds – these healthy little seeds soak up the excess liquid and form a gel. You have to use chia seeds for this; nothing else will work.
- Lemon Juice – this will help the strawberries to keep their bright color. You can also swap it for lime juice.
- Sweetener – you can use any sweetener you want in the chia jam. Granulated sugar, agave nectar, or maple syrup are all good choices.
Helpful tools
- A small saucepan – to cook the berries.
- A potato masher – or a large spoon that you can use to smash the berries while they are cooking.
How to make chia jam
A full printable version of this recipe with ingredient measurements is available at the bottom of this post.
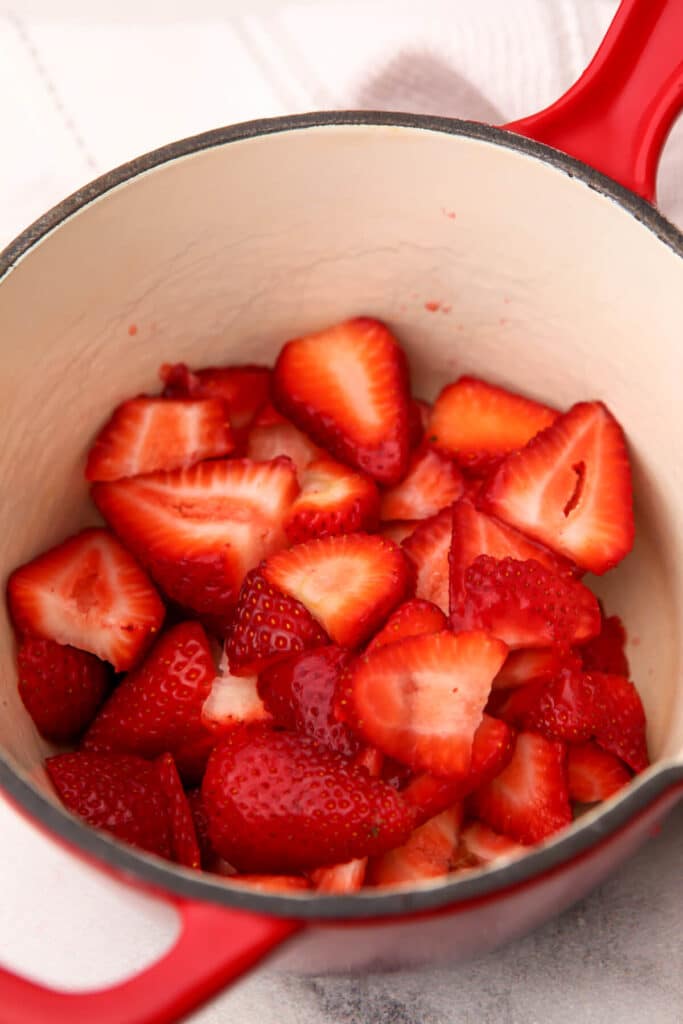
Step 1 – Prepare the Strawberries
Wash your strawberries thoroughly under running water and remove the stems. Chop them into slices or small pieces.
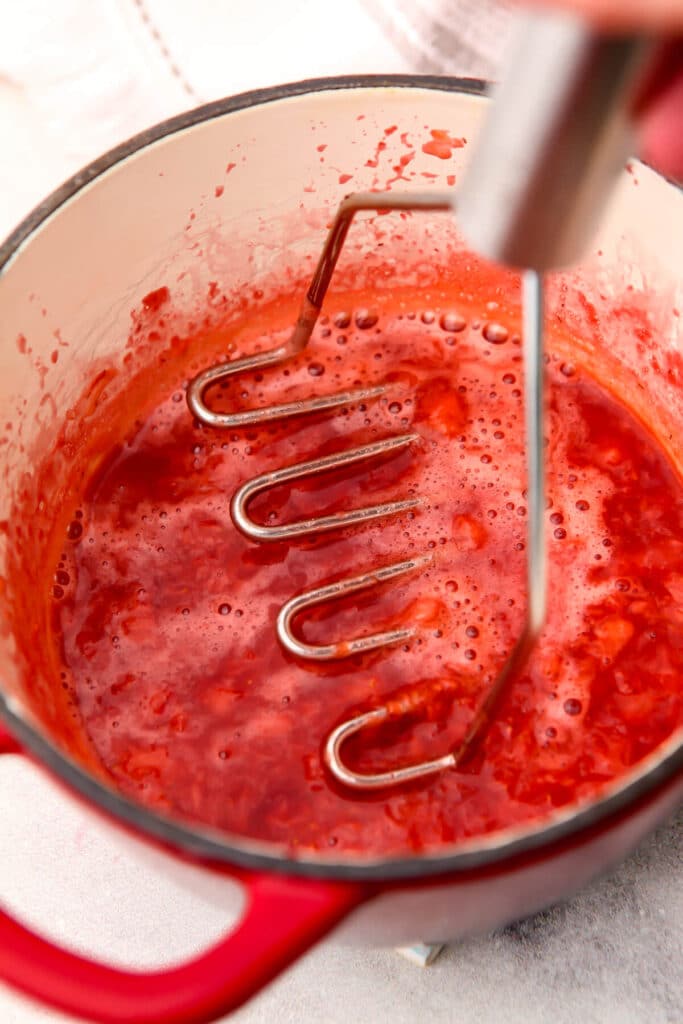
Step 2 – Cook the Strawberries
Place the chopped frozen or fresh strawberries in a saucepan and cook them over medium heat until they start to break down and release their juices. Mash them with a potato masher or a large spoon, stirring occasionally to prevent sticking and burning. This process usually takes around 5-7 minutes.
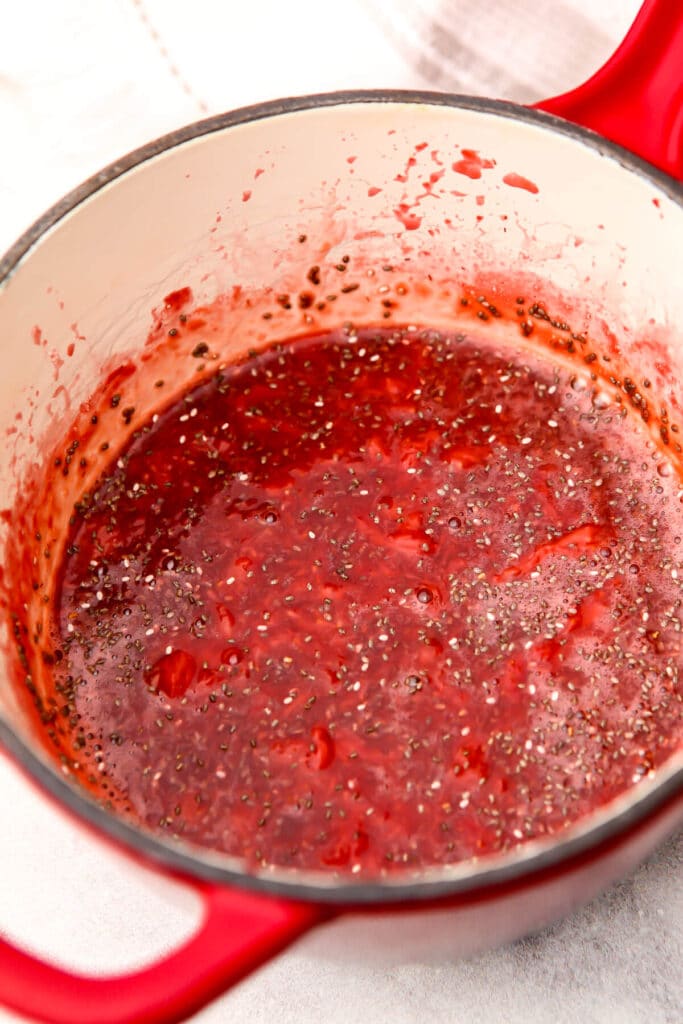
Step 3 – Add the Chia Seeds
Once the strawberries have softened and become slightly mushy, add the chia seeds to the pan. Stir well to evenly distribute the seeds throughout the mixture. The chia seeds will absorb the liquid and help thicken the jam.
Step 4 – Sweeten and Flavor
Now it’s time to add a touch of sweetness to your jam. Pour your sweetener of choice into the saucepan. Stir everything together, allowing the flavors to meld. Taste the mixture and adjust the sweetness according to your preference.

Step 5 – Thicken and Cool
Reduce the heat to low and let the mixture simmer for an additional 5 minutes, or until it reaches your desired consistency. The jam will continue to thicken as it cools, so don’t worry if it seems slightly runny at this stage. Remove the saucepan from the heat and let the jam cool down to room temperature.
Step 6 – Store and Enjoy
Once your Strawberry Chia Jam has cooled, transfer it to a clean glass jar or airtight container. Seal it tightly and refrigerate for a few hours or overnight to allow the chia seeds to fully absorb the liquid and set the jam.
Pro Tips
- You can eat the jam immediately or let it cool in the fridge for a few hours first.
- Remember that the jam will continue to thicken for a few hours after cooking.
- If you prefer a smoother jam, you can briefly blend it in a food processor or blender.
Storage
Refrigerate: Your homemade Strawberry Chia Jam will keep well in the refrigerator for up to 1-2 weeks. You can also freeze it for up to 3 months.
Serving Suggestions
Now that you have a delicious jar of Strawberry Chia Jam ready, what do you do with it? Here are some of my favorite ways to use it.
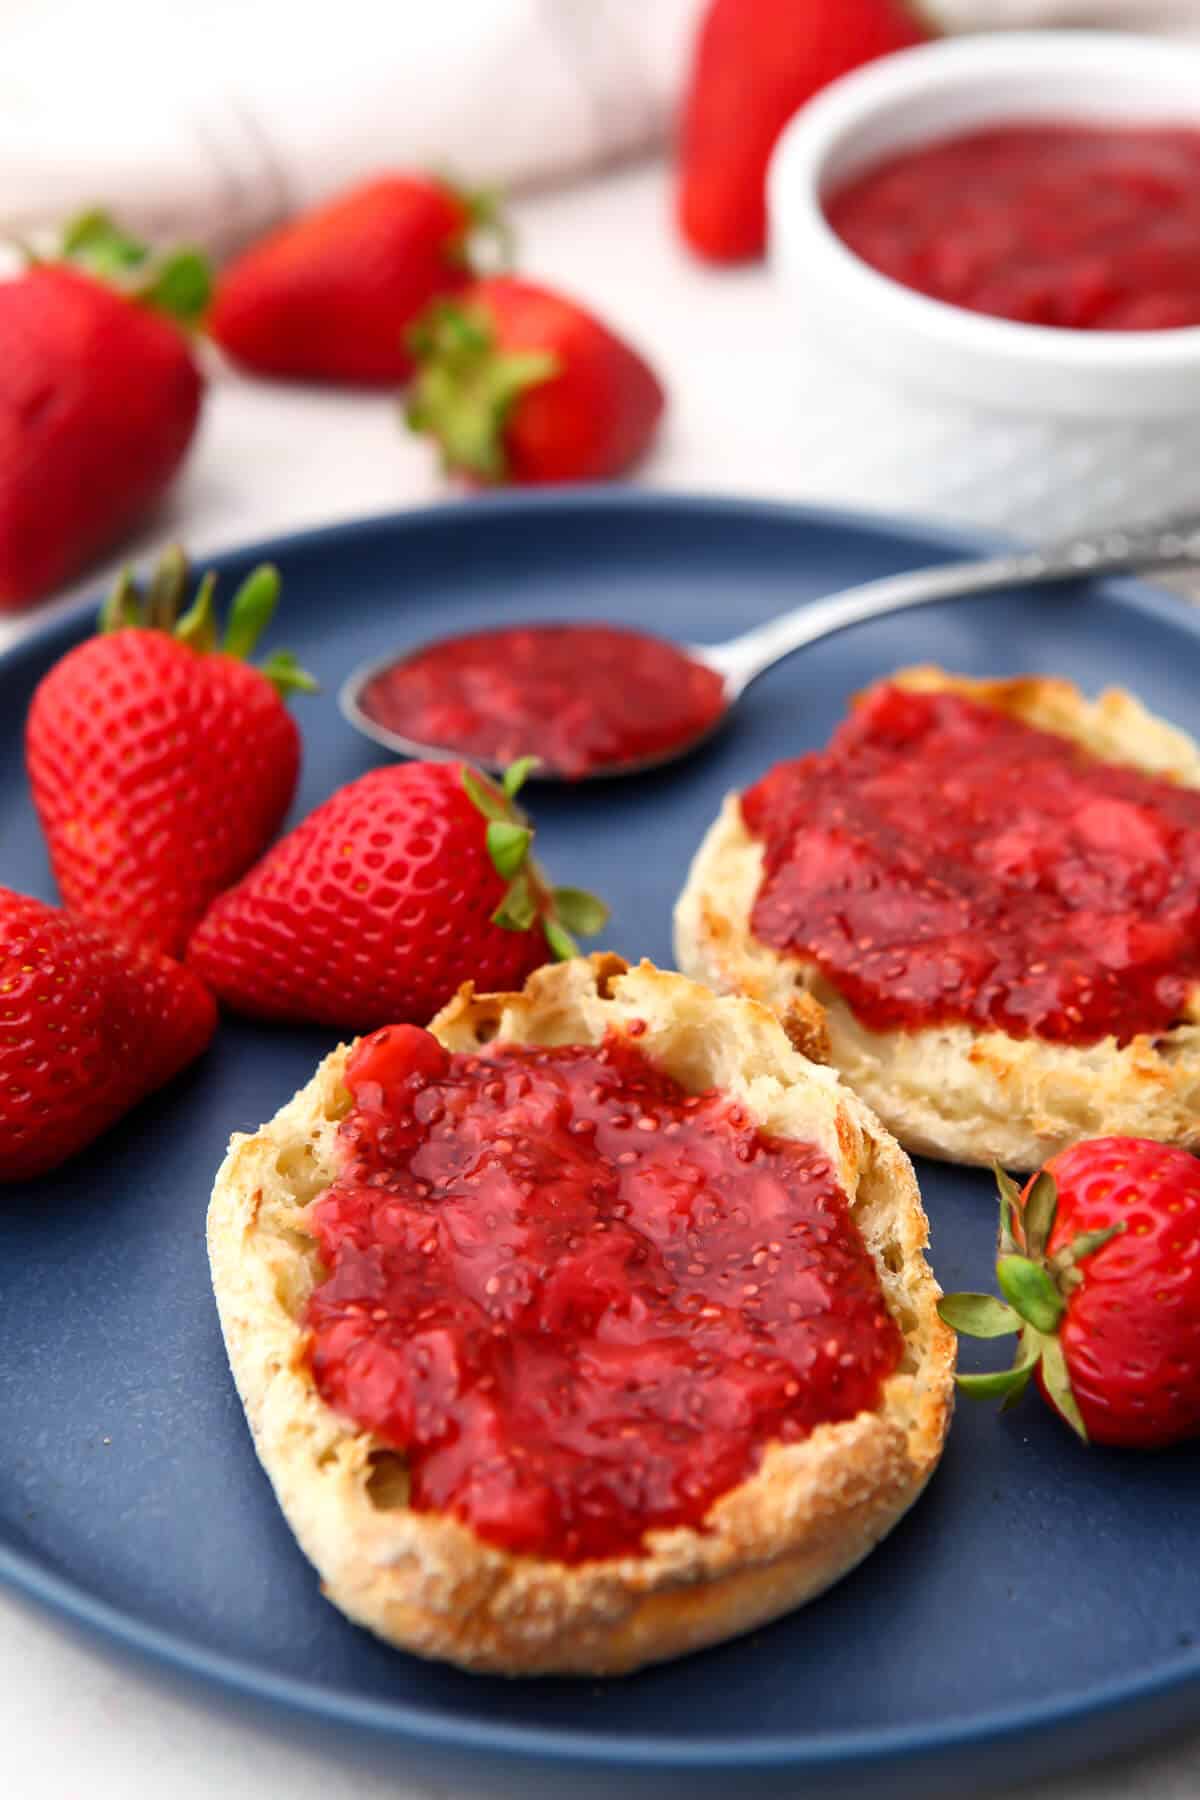
- Spread it on toast, bagels, or English muffins for a delightful breakfast treat.
- Use it as a topping for pancakes, waffles, crepes, or French toast.
- Swirl it into yogurt or oatmeal for added flavor and texture.
- Create a classic PB&J sandwich with a healthier twist using your homemade jam.
- Mix it into smoothies or milkshakes for a burst of fruity goodness.
- Get creative and use it as a filling for pastries, cakes, or thumbprint cookies.

If you liked this chia seed jam, you will also love my easy chia seed pudding recipe.
More strawberry recipes
- Strawberry Spinach Salad
- Vegan Strawberry Shortcake
- Strawberry Cupcakes
- Berry Compote
- Strawberry Pie
- Vegan Strawberry Muffins
Strawberry chia seed jam recipe

Strawberry Chia Jam
Ingredients
- 2 cups strawberries, chopped
- 1 tablespoon lemon juice
- 2 tablespoons chia seeds
- 1-4 tablespoons sugar, or agave or maple syrup
Instructions
- Prepare the Strawberries – Wash your strawberries thoroughly under running water and remove the stems. Chop them into slices or small pieces.
- Cook the Strawberries – Place the chopped strawberries and lemon juice in a saucepan and cook them over medium heat until they start to break down and release their juices. Mash them with a potato masher or a large spoon, stirring occasionally to prevent sticking and burning. This process usually takes around 5-7 minutes.
- Add the Chia Seeds – Once the strawberries have softened and become slightly mushy, add the chia seeds to the saucepan. Stir well to evenly distribute the seeds throughout the mixture. The chia seeds will absorb the liquid and help thicken the jam.
- Sweeten and Flavor – Now it's time to add a touch of sweetness to your jam. Pour your sweetener of choice into the saucepan. Stir everything together, allowing the flavors to meld. Taste the mixture and adjust the sweetness according to your preference.
- Thicken and Cool – Reduce the heat to low and let the mixture simmer for an additional 5 minutes, or until it reaches your desired consistency. The jam will continue to thicken as it cools, so don't worry if it seems slightly runny at this stage. Remove the saucepan from the heat and let the jam cool down to room temperature.
- Store and Enjoy – Once your Strawberry Chia Jam has cooled, transfer it to a clean glass jar or airtight container. Seal it tightly and refrigerate for a few hours or overnight to allow the chia seeds to fully absorb the liquid and set the jam.
Notes
- You can eat the jam immediately or let it cool in the fridge for a few hours first.
- Remember that the jam will continue to thicken for a few hours after cooking.
- If you prefer a smoother jam, you can briefly blend it in a food processor or blender.
 Did you make this recipe?Please leave a star rating and review below!
📌 Be sure to follow me on Pinterest for new vegan recipes!


Made this today. Super quick and easy. Sweetened with date syrup.
Date syrup is a great idea! 🙂
Hi Monica, I’m in Australia & came across your recipe. It was so easy & delicious that I have passed it on to my sisters & I’m just about to make some more. Bless you x Zig
I’m so happy that you like it! It is shocking how easy it is to make! 🙂
Hey Monica. Is there way to extend the storage life of the jam for 3-4 weeks instead of 1-2? I’m planning to do this jam with frozen strawberries since strawberry season is over!
You could freeze a portion of the jam and it will keep for 3 months. Also be sure to use a clean utensil to scoop out the jam, it will go bad faster if any bacteria is introduced to the jam.
I’m definitely going to try this. Sounds so completely simple and delicious and my husband always wants the “preserves with seeds” so this will be perfect! Thanks, Kristi
I thought that I would notice the seed more when I first tried it, but you cant distinguish them much from the strawberry seeds when you’re eating it. Enjoy! 🙂
Can you freeze this jam?
Yes, this freezes well in an airtight container for up to 3 months. Enjoy! 🙂
Excited to try this recipe! Not sure if I missed this, but where does the lemon juice come in / at what point is it added?
You add the lemon juice alone with the strawberries in the beginning of cooking. Enjoy! 🙂
Could I freeze this
Yes, this freezes well in an airtight container for up to 3 months.